


1 Start with a clean vehicle

Wash and dry the exterior, clean and vacuum the interior.
It should be as clean as possible.
3 Use the right light
For best results, it is best to shoot in the morning when there is good weather, and at the end of the afternoon when full sun.
If you are shooting in the middle of the day, position yourself in the shade.
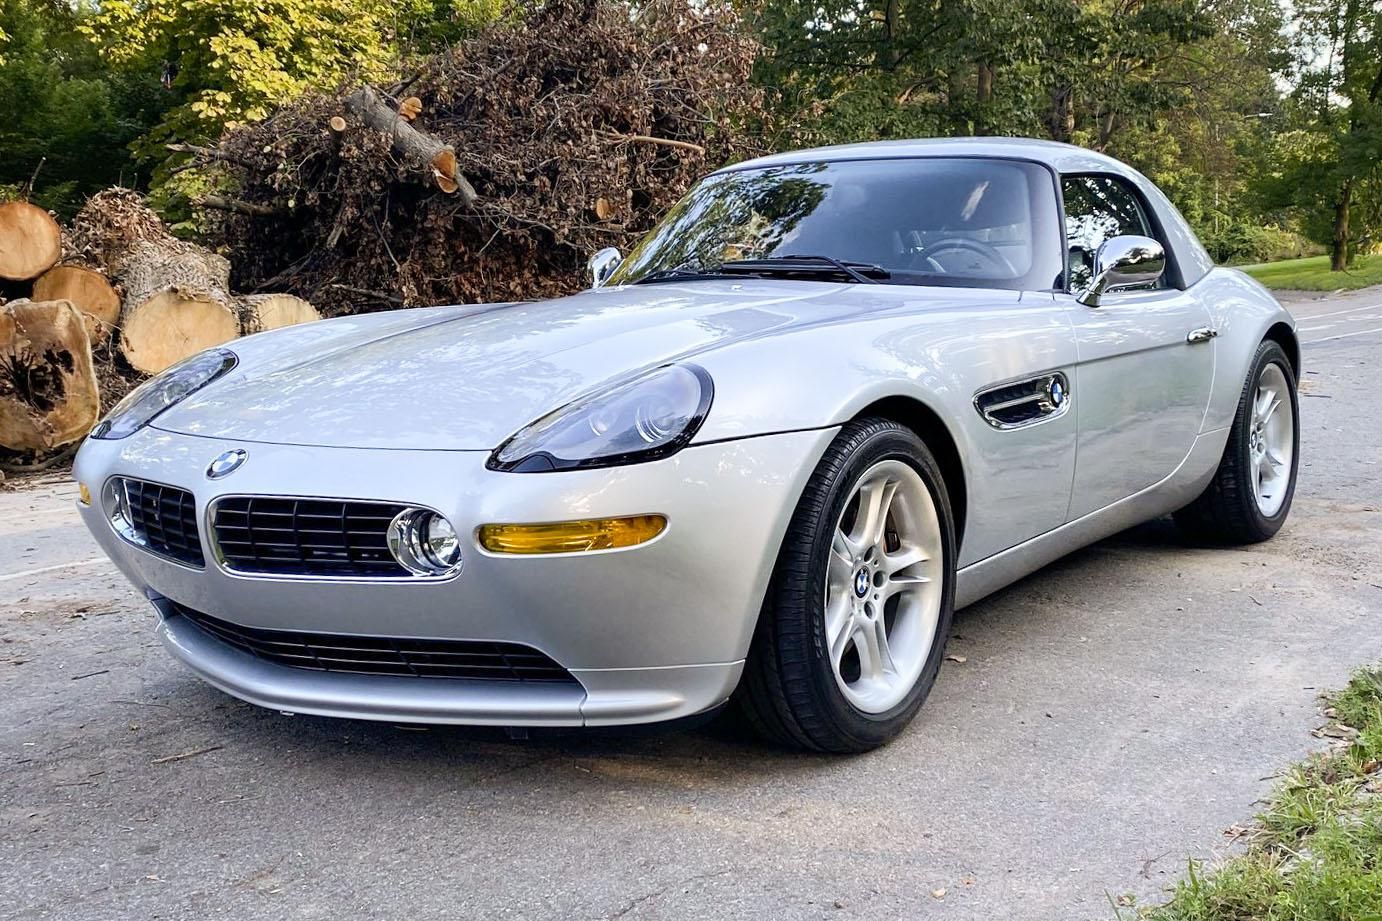
5 Start by photographing outside
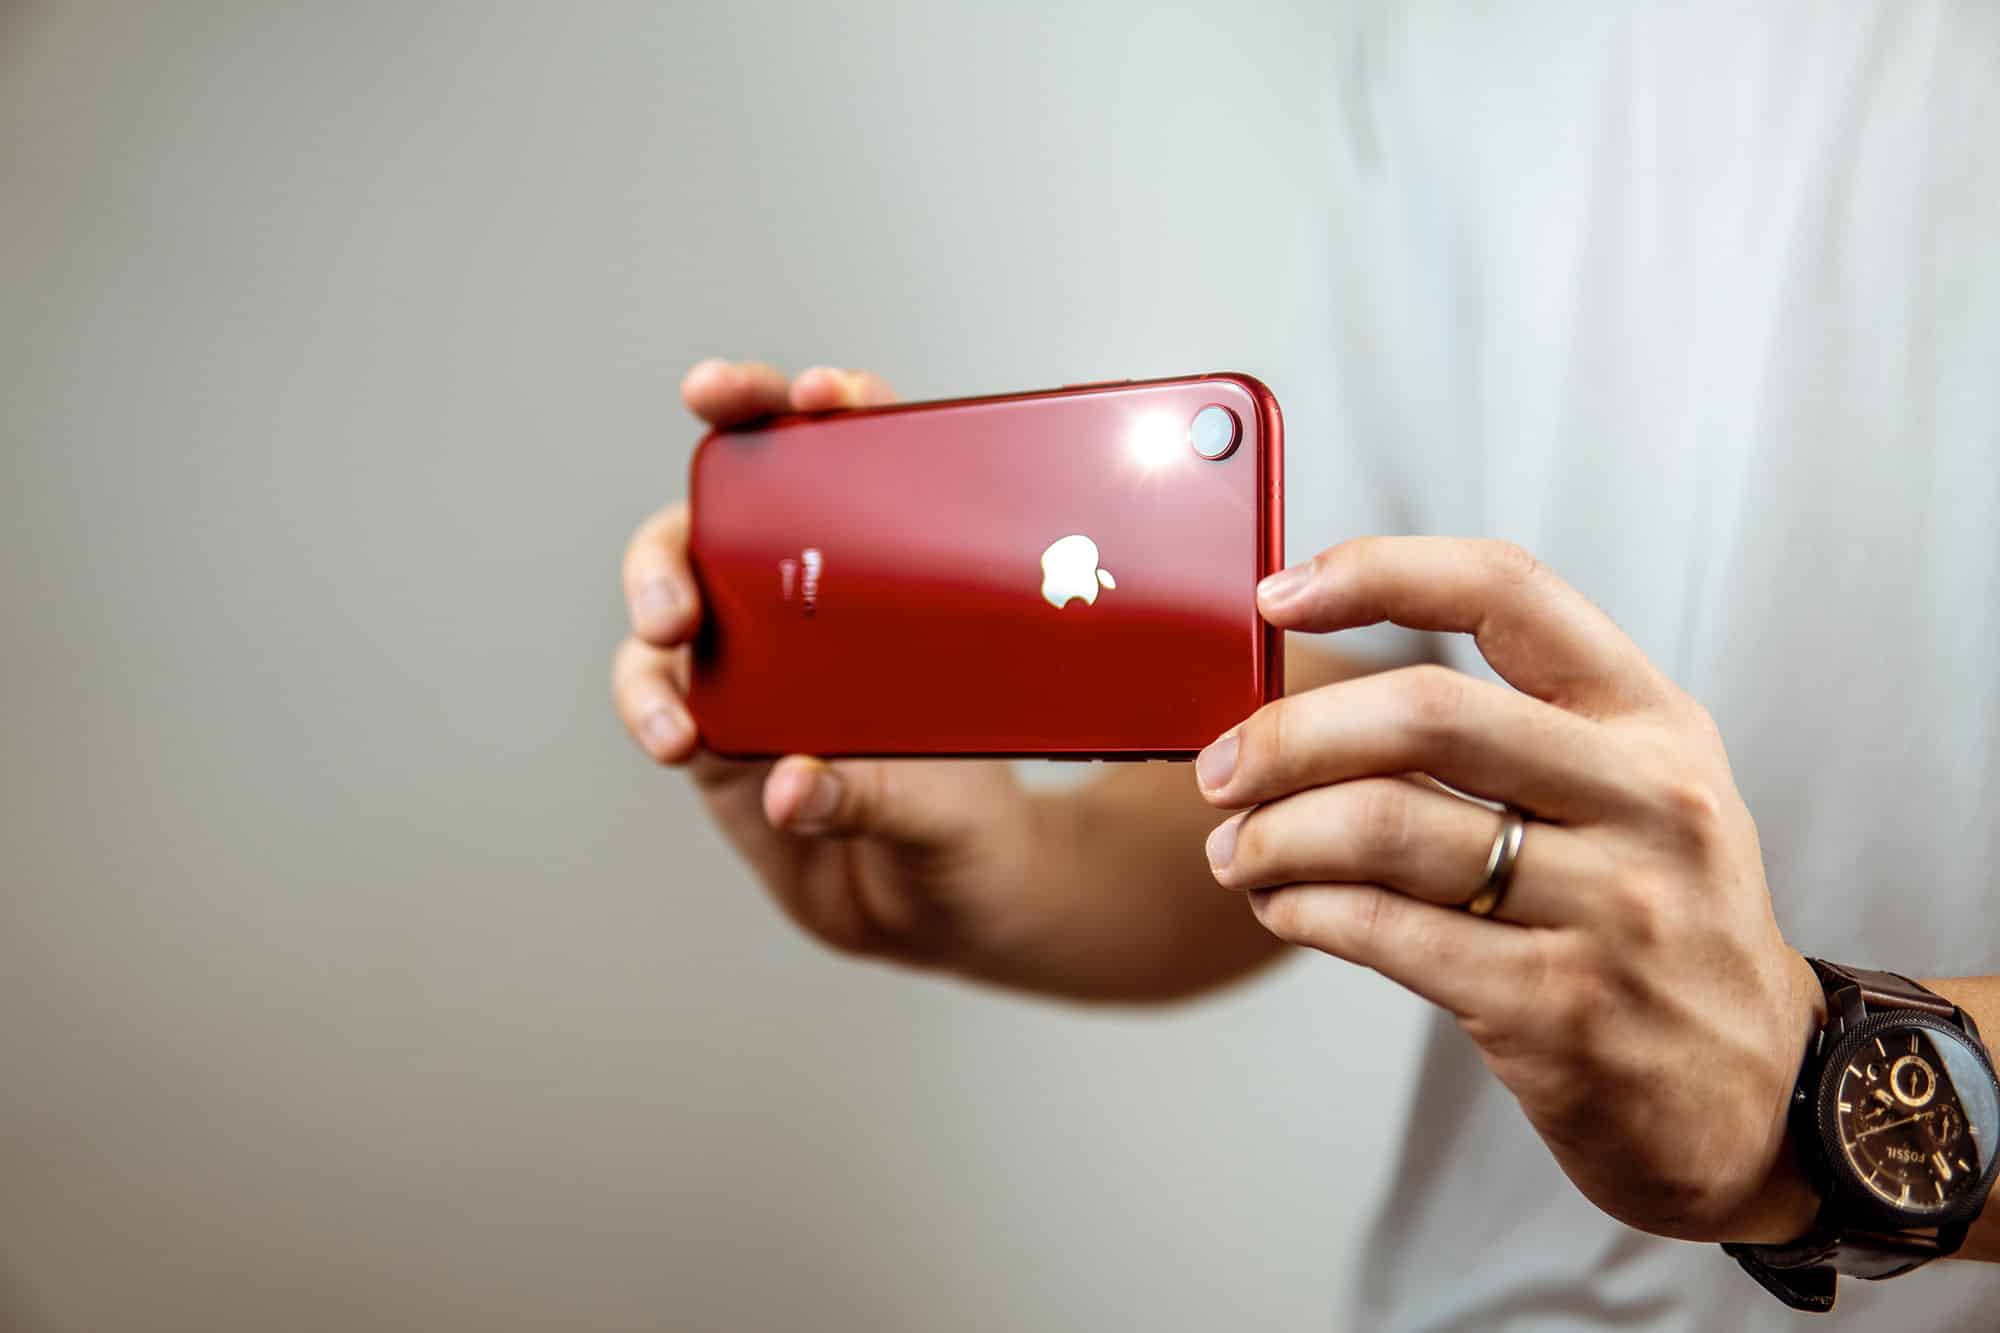
Always have your camera or phone in landscape orientation for all photos.
Position the vehicle against a clear background, ideally with the sun or light behind you.
Start by photographing the driver’s side, including the whole car but reducing a little space in front and behind, to be able to crop the photo.
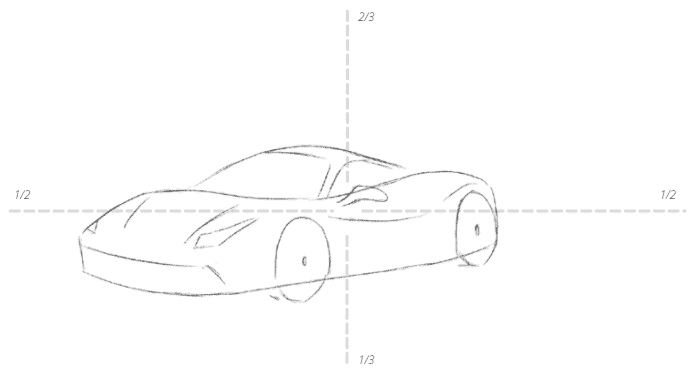
The driver’s door handle should be in the center of the frame from left to right and about a third of the way up from the bottom.
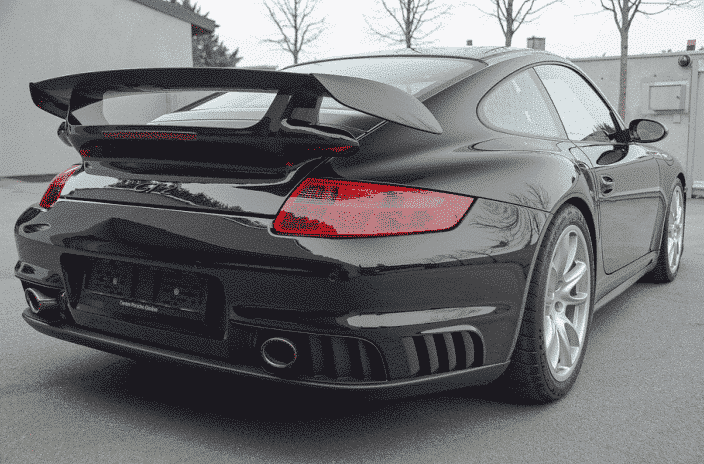
Shoot driver and passenger sides, 3/4 views, and straight shots from the front and rear. To make sure you don’t forget anything, download our complete list of must-have photographs.
It is better to move the vehicle to capture different angles.
The photographer should remain fairly stationary, capturing different angles of the vehicle under the same light.
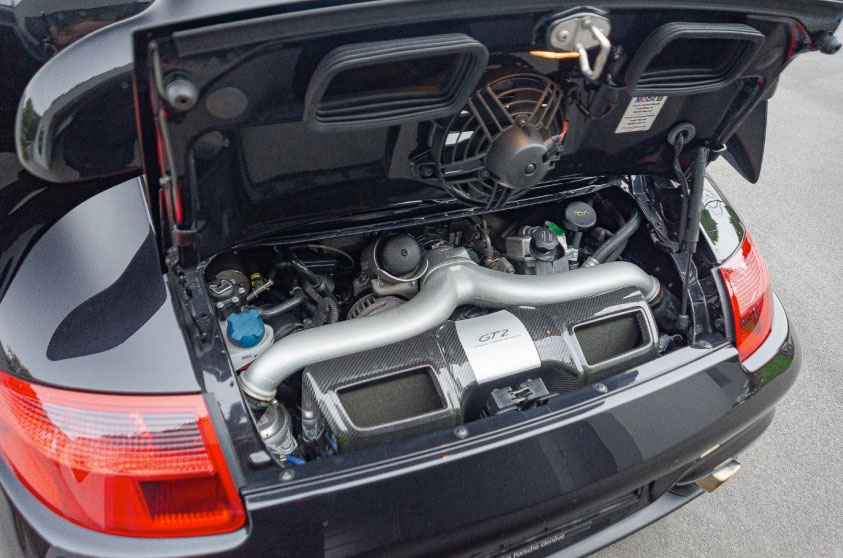
7 Photograph the engine

Open the hood of the vehicle and make sure there are no leaves, debris or litter that would distract from the subject.
Shoot the entire engine compartment from above and from either side, making sure you get as much of the engine compartment as possible in the shot.
Get closer and try to take pictures of the components: carburetors, ignition, valve cover, belts, etc. Get even closer and take pictures of details like engine pads, markings and more that a potential bidder might want to see.
9 Show it all: the good and the bad

Don’t hide or “photoshop” the issues.
Show defects upfront rather than waiting for them to be discovered during the auction or after delivery.
Digitally retouching photos to hide car flaws is unethical.
Start with wide shots and work closer: details matter.
Most galleries have over 50 photos, and many have over 100. The more, the better!
2 Outdoor photographer

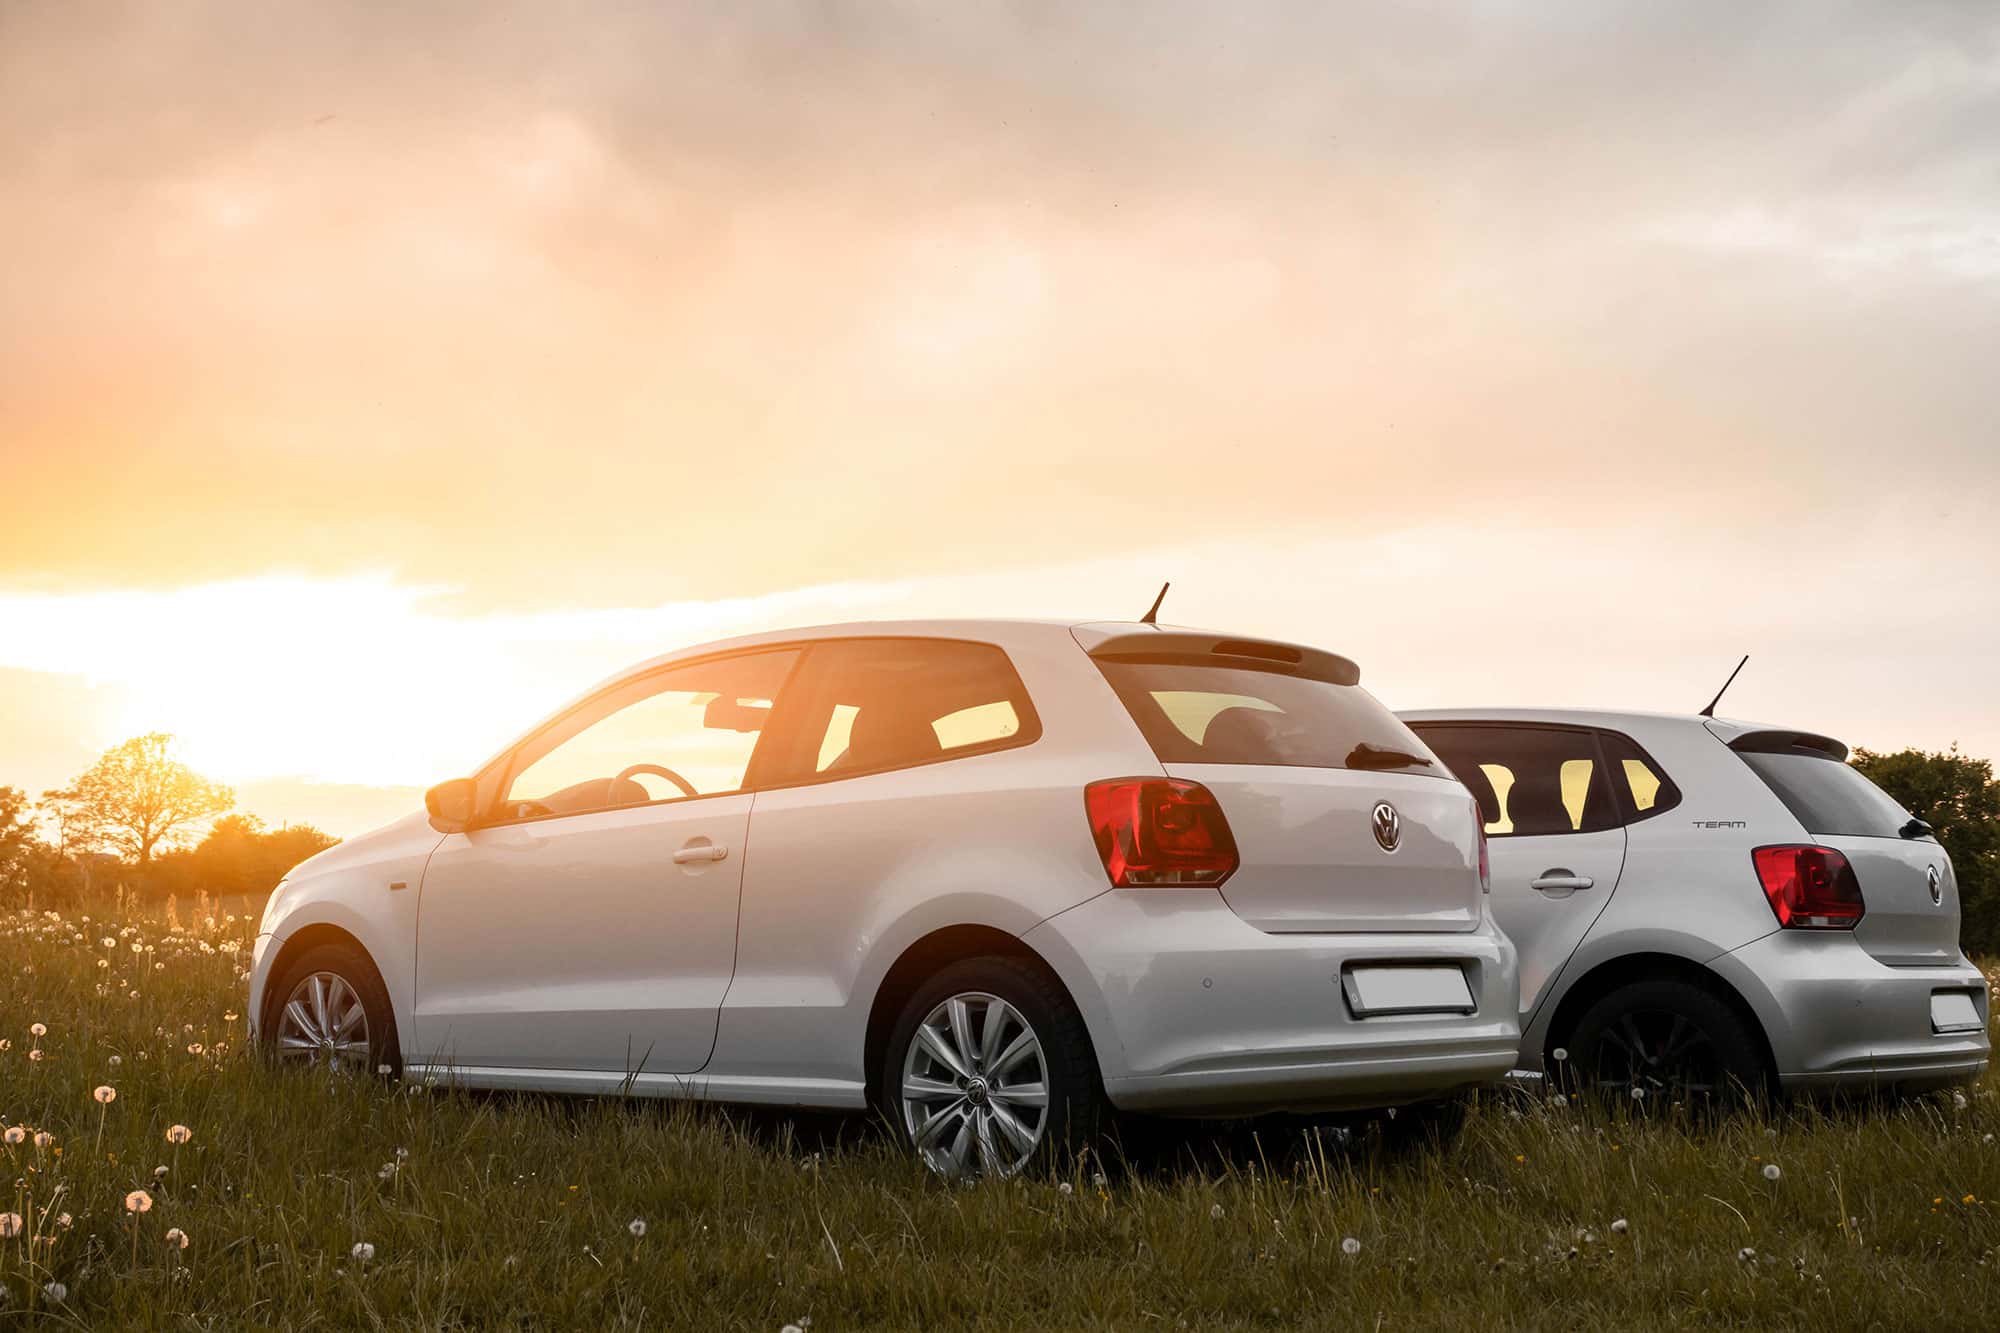
Vehicles look best when photographed outdoors, so it’s best to move it outside, weather permitting.
4 Choose a simple location
Find a quiet, open area such as a street, park, or empty parking lot and eliminate visual distractions, such as a tree or telephone pole.
Keep the background uniform, such as a wall, trees, or open space.
6 Continue with the interior

Start with a complete overview: open the door and photograph as much as possible: seats, steering wheel and dashboard, show everything.
Then focus on the details: steering wheel, gauges, odometer, dashboard controls, pedals. When photographing the gauges, the glass can be very reflective, so vary your viewing angle to reduce this effect.
Photograph the passenger interior from the driver’s side and from the side. Don’t forget to photograph the ceiling covering, the carpets, the door frames, the windows and any other details.
8 Photographer under the vehicle

Just lie on the ground and point the camera up. It can be difficult to do this well, so raising the vehicle with a ramp or stands can be very helpful.
Work from front to back and take as many detailed photos of the underside as possible. Photograph under the engine, transmission, rocker arms, suspension, wheels, tires, brakes and establish yourself to capture any signs of rust or other damage.
10 Photograph any documents relating to the vehicle

It is important to get photos of the relevant documentation for the vehicle. If you have visible personal coordinates, specify the mask before taking the photo.
Photograph the accessories supplied with the car: stickers on the windows, extra keys, manuals, etc.
Finally, take a picture of the title, we won’t post it publicly, but we’ll need it for verification purposes.
1 Start with a clean vehicle
Wash and dry the exterior, clean and vacuum the interior.
It should be as clean as possible.
3 Use the right light
For best results, it is best to shoot in the morning when there is good weather, and at the end of the afternoon when full sun.
If you are shooting in the middle of the day, position yourself in the shade.
5 Start by photographing outside
Always have your camera or phone in landscape orientation for all photos.
Position the vehicle against a clear background, ideally with the sun or light behind you.
Start by photographing the driver’s side, including the whole car but reducing a little space in front and behind, to be able to crop the photo.
The driver’s door handle should be in the center of the frame from left to right and about a third of the way up from the bottom.
Shoot driver and passenger sides, 3/4 views, and straight shots from the front and rear. To make sure you don’t forget anything, download our complete list of must-have photographs.
It is better to move the vehicle to capture different angles.
The photographer should remain fairly stationary, capturing different angles of the vehicle under the same light.
7 Photograph the engine
Open the hood of the vehicle and make sure there are no leaves, debris or litter that would distract from the subject.
Shoot the entire engine compartment from above and from either side, making sure you get as much of the engine compartment as possible in the shot.
Get closer and try to take pictures of the components: carburetors, ignition, valve cover, belts, etc. Get even closer and take pictures of details like engine pads, markings and more that a potential bidder might want to see.
9 Show it all: the good and the bad
Don’t hide or “photoshop” the issues.
Show defects upfront rather than waiting for them to be discovered during the auction or after delivery.
Digitally retouching photos to hide car flaws is unethical.
Start with wide shots and work closer: details matter.
Most galleries have over 50 photos, and many have over 100. The more, the better!
2 Outdoor photographer
Vehicles look best when photographed outdoors, so it’s best to move it outside, weather permitting.
4 Choose a simple location
Find a quiet, open area such as a street, park, or empty parking lot and eliminate visual distractions, such as a tree or telephone pole.
Keep the background uniform, such as a wall, trees, or open space.
6 Continue with the interior
Start with a complete overview: open the door and photograph as much as possible: seats, steering wheel and dashboard, show everything.
Then focus on the details: steering wheel, gauges, odometer, dashboard controls, pedals. When photographing the gauges, the glass can be very reflective, so vary your viewing angle to reduce this effect.
Photograph the passenger interior from the driver’s side and from the side. Don’t forget to photograph the ceiling covering, the carpets, the door frames, the windows and any other details.
8 Photographer under the vehicle
Just lie on the ground and point the camera up. It can be difficult to do this well, so raising the vehicle with a ramp or stands can be very helpful.
Work from front to back and take as many detailed photos of the underside as possible. Photograph under the engine, transmission, rocker arms, suspension, wheels, tires, brakes and establish yourself to capture any signs of rust or other damage.
10 Photograph any documents relating to the vehicle
It is important to get photos of the relevant documentation for the vehicle. If you have visible personal coordinates, specify the mask before taking the photo.
Photograph the accessories supplied with the car: stickers on the windows, extra keys, manuals, etc.
Finally, take a picture of the title, we won’t post it publicly, but we’ll need it for verification purposes.


List of all photographs
Reference this list while shooting to ensure you capture all the important angles.
Outside
- Driver side view – right
- Driver side view – ¾ front
- Driver’s side view – ¾ rear
- Passenger side view-right
- Passenger side view – ¾ front
- Passenger side view – ¾ rear
- Front face
- Back side
- Under the driver’s door
- Under the passenger door
- Left front fender detail
- Right front fender detail
- Left rear fender detail
- Right rear fender detail
- Emblems / Acronyms
- Finishing parts
- Chrome parts
- Plastic parts
- Lights off and on
- Wheels and tires
- Wheel arches
- Photo taken from the ground (lying down)
- Photo taken from above
- Photo taken up close
- Photo taken from afar
- All windows
- Details on windows and stickers
- Exterior problem areas
Interior
- Driver side seats
- Passenger side seats
- Seat stitching details
- Flying
- Gauges
- Odometer
- Console
- Full dashboard
- Dashboard Details
- Glove box closed
- Glove box open
- Belt detail
- Labels on the doors
- Radio
- Numerical functions
- Interior lights
- Carpet
- Floor under carpets
(if removable)
- Empty chest
- Chest with reserve
- Spare part
- Interior problem areas
Stickers and labels
- Identification, chassis and/or stickers
Roof
- Convertible top open and closed
we - Open and closed hardtop
- Tools
Engine
- Engine compartment
- Engine compartment, driver’s side
- Engine compartment, passenger side
- Engine compartment details
Under the vehicle
- Under the car from front, back, left, right
Others
- Maintenance records
- Accessories

